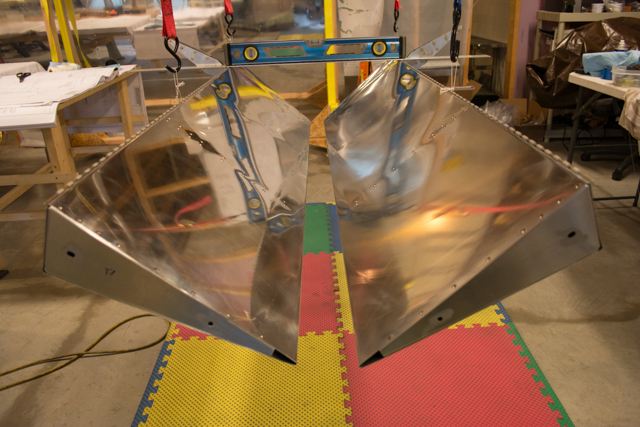
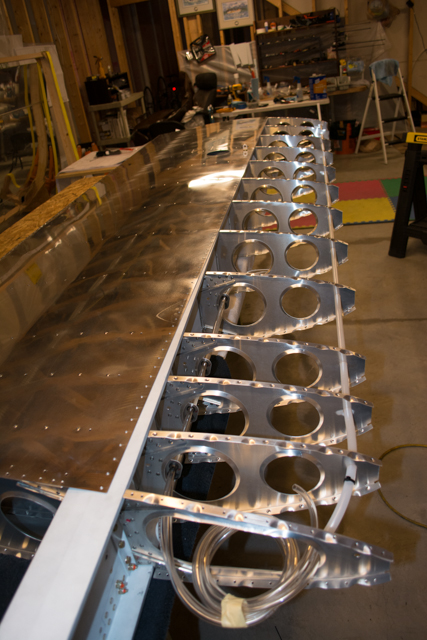
aileron installation
I'm about to mount the lead on the aileron and wrap up everything but the wing tip since I'll probably wait to shop for lighting at Oshkosh. When I attach the weight to the arms my thought was to leave one side of the wing skin off so I can remove enough lead to get it to balance, at least pretty close without having to keep removing the aileron during the process. Is the goal to get the weight to cause the aileron to float in accordance with the description given on the plans? It shows a straight line off the top of the aileron surface to a point up the wing with a dimension above a location on the wing. Do the controls have to be attached inside the fuselage eventually to see if both ailerons are in balance when connected? Wingnut